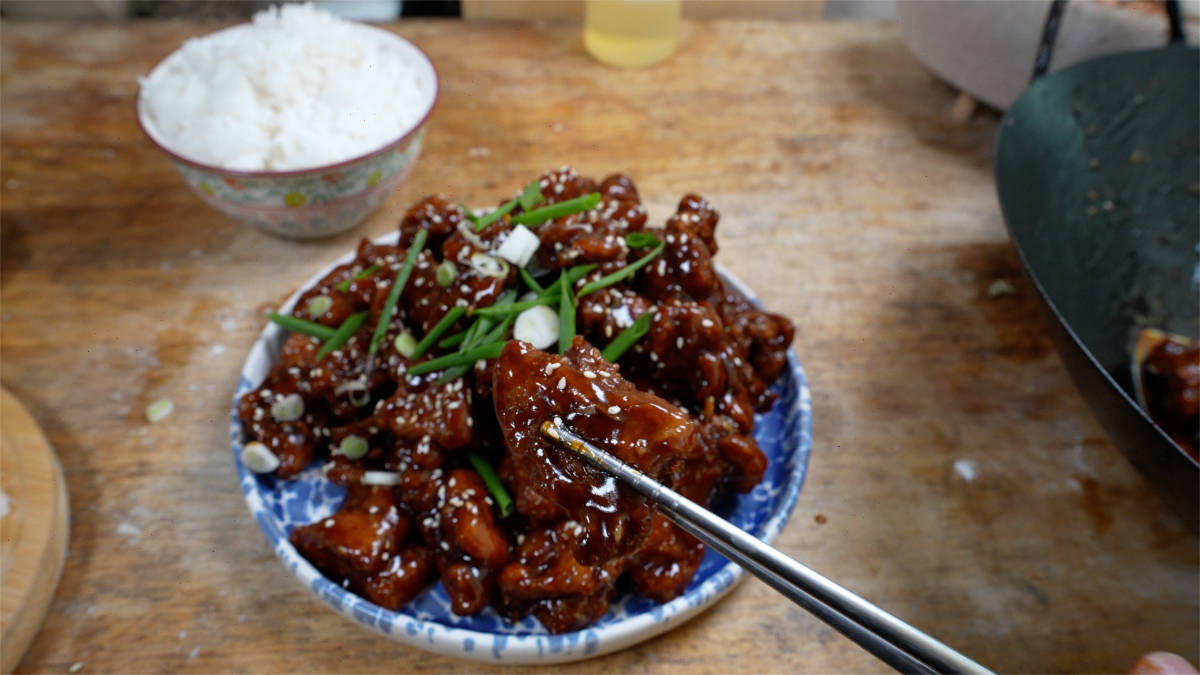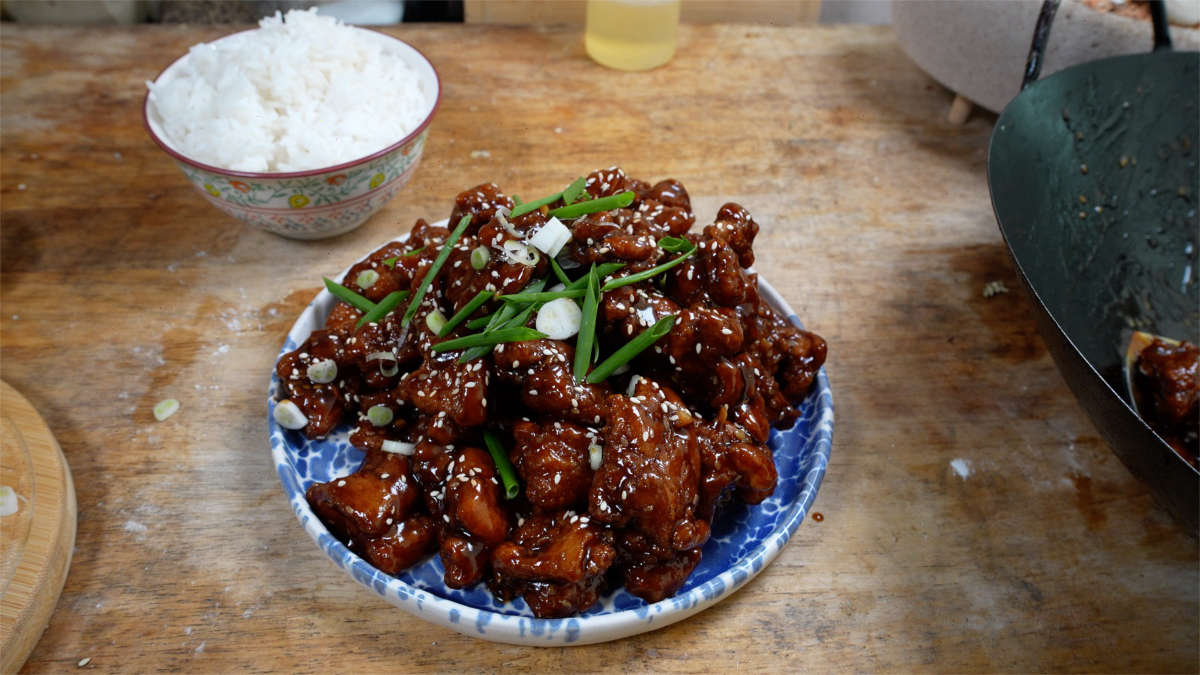
The Secret to Great Chinese Sesame Chicken Recipe
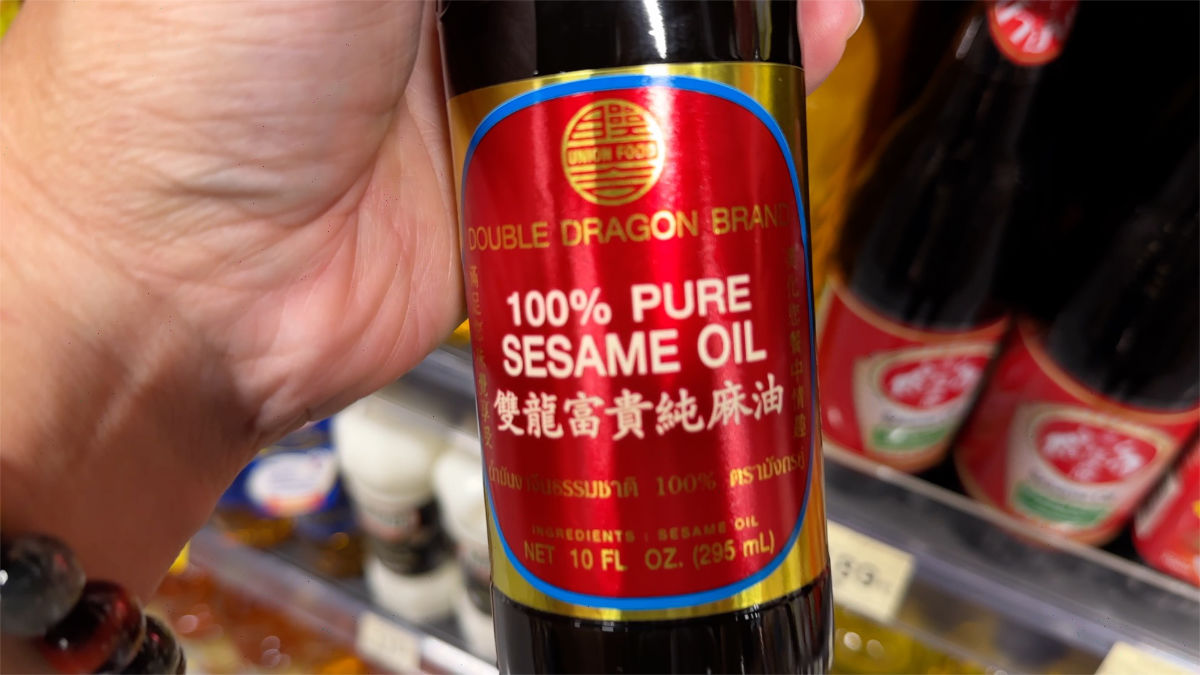
For the best Chinese sesame chicken in your kitchen use the best sesame oil you can afford. There’s 2 types:
- 100% Pure Sesame Oil
- Blended Sesame Oil
100% pure sesame oil will make a better sesame chicken. Though it cost more.
Blended sesame oils are combined with neutral flavored oils such as soybean. And it’s cheaper.
Depending on the grade and price you may find 70% sesame oil to 30% neutral oil on the shelves at supermarkets.
Get the best sesame oil you can afford.
Why Sesame Chicken?
It has sauce that is sweet, savory with a nutty aroma and punchy taste from sesame oil.
Recipe
It is often confused with General Tso’s Chicken. Because the differences are very subtle. Though the technique in making Sesame Chicken is similar to it as well as Orange Chicken.
If you really like General Tso’s and Orange Chicken you should try and make sesame chicken too.
Who know’s it might be your new favorite.
Chicken & Marinade
- 1½ lb. (700g) Chicken Thighs
- 2 Tablespoons Shaoxing Wine
- 1 Tablespoon Mijiu Wine
- 2 Tablespoons Soy Sauce
- 1/2 Teaspoon White Pepper
- 1 Egg White Large Egg
- 1/2 Teaspoon Baking Soda
- 4 Tablespoons Potato Starch
(set aside 6 tablespoons marinade)
Dry Batter
- 1 Cup Cornstarch
- 1/2 Cup All Purpose Flour
- 1/2 Teaspoon Salt
- 1/2 Teaspoon Baking Soda
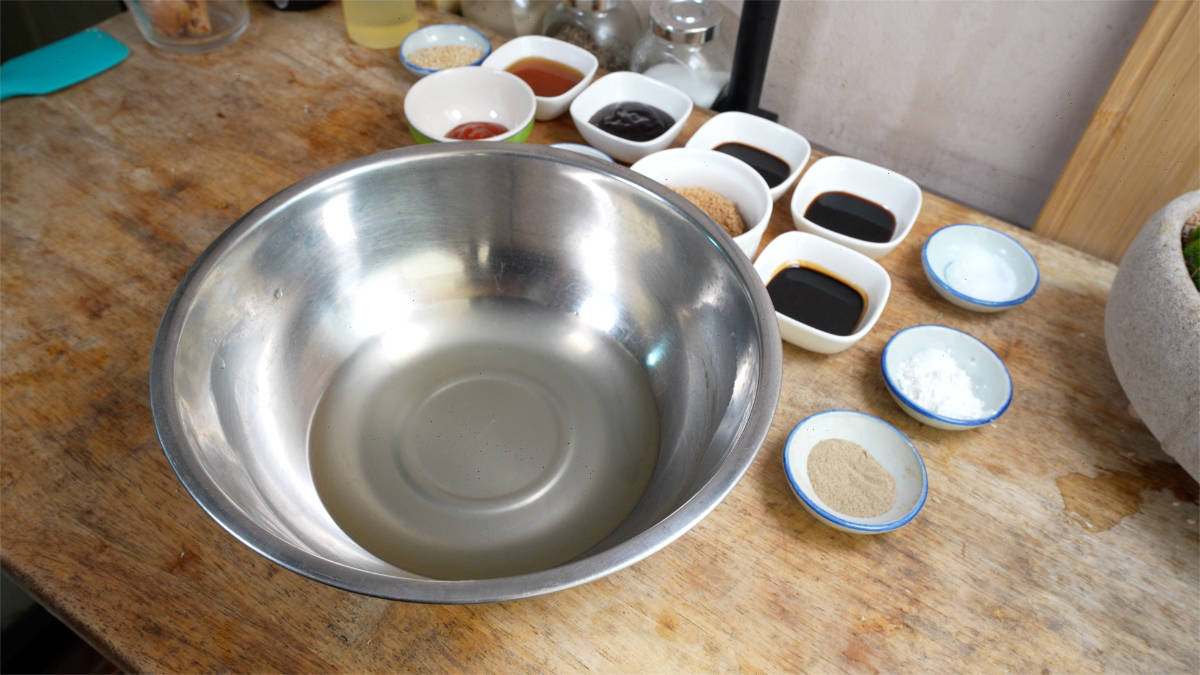
Sesame Chicken Sauce
- 1 Cup Chicken Broth
- 1 Tablespoon Dark Soy Sauce
- 1 Tablespoon Light Soy Sauce
- 2 Tablespoons Oyster Sauce
- 1 Tablespoon Chinese Black Vinegar (can sub with white vinegar)
- 2 Tablespoons Sesame Oil (best quality you can get)
- 1 Tablespoon Tomato Ketchup
- 1 Teaspoon MSG 1/2 Teaspoon White Pepper
- 2 Teaspoons Potato Starch
- 2 Teaspoons Honey
- 1/4 Cup Light Brown Sugar
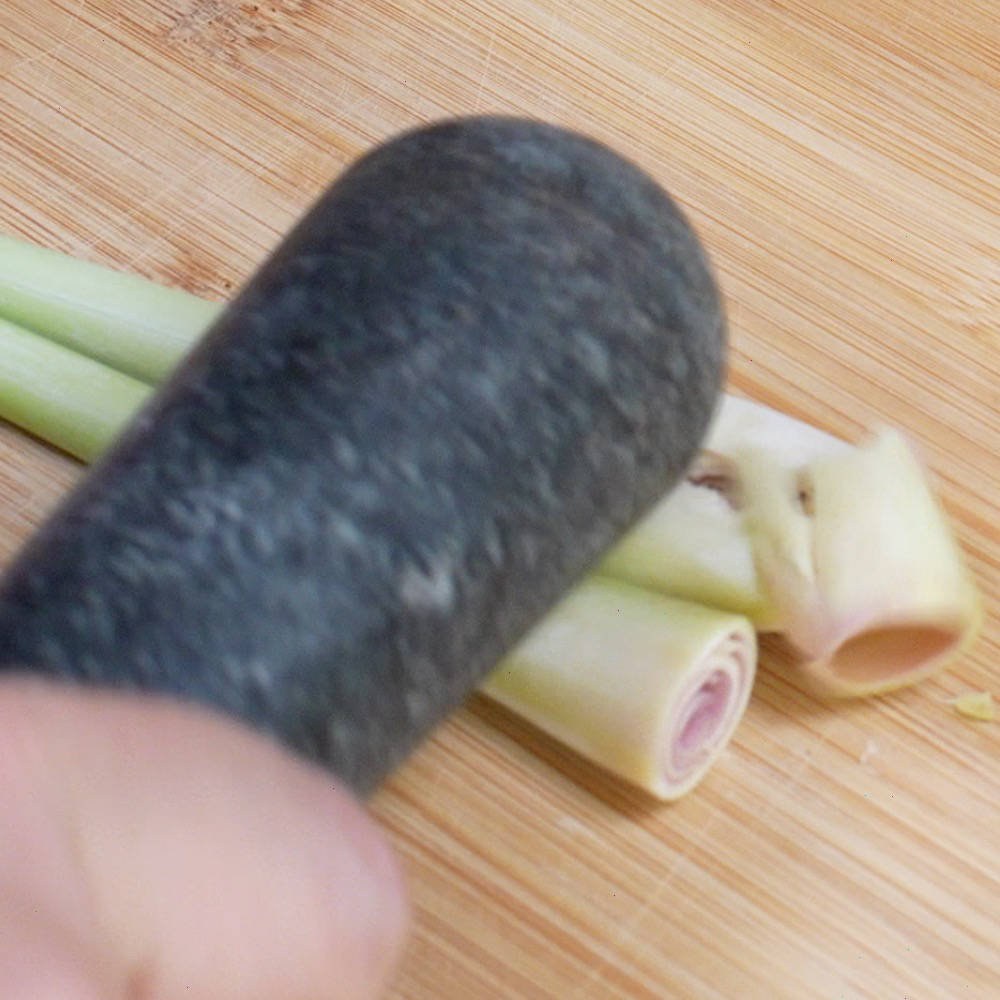
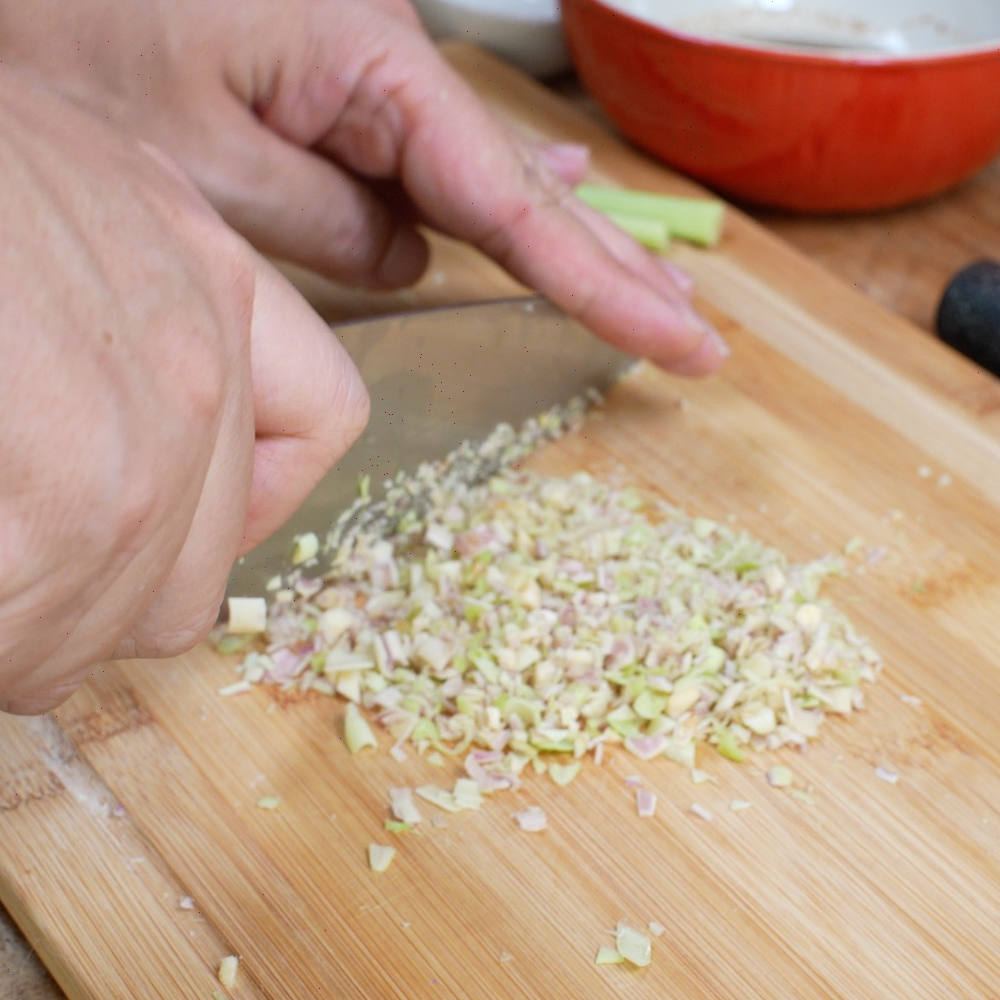
Aromatics
- 3 Garlic Cloves Minced
- 2 Teaspoon Freshly Grated Giner
- Spring Onions
- 2 Tablespoons Toasted Sesame Seeds
Cooking Instructions
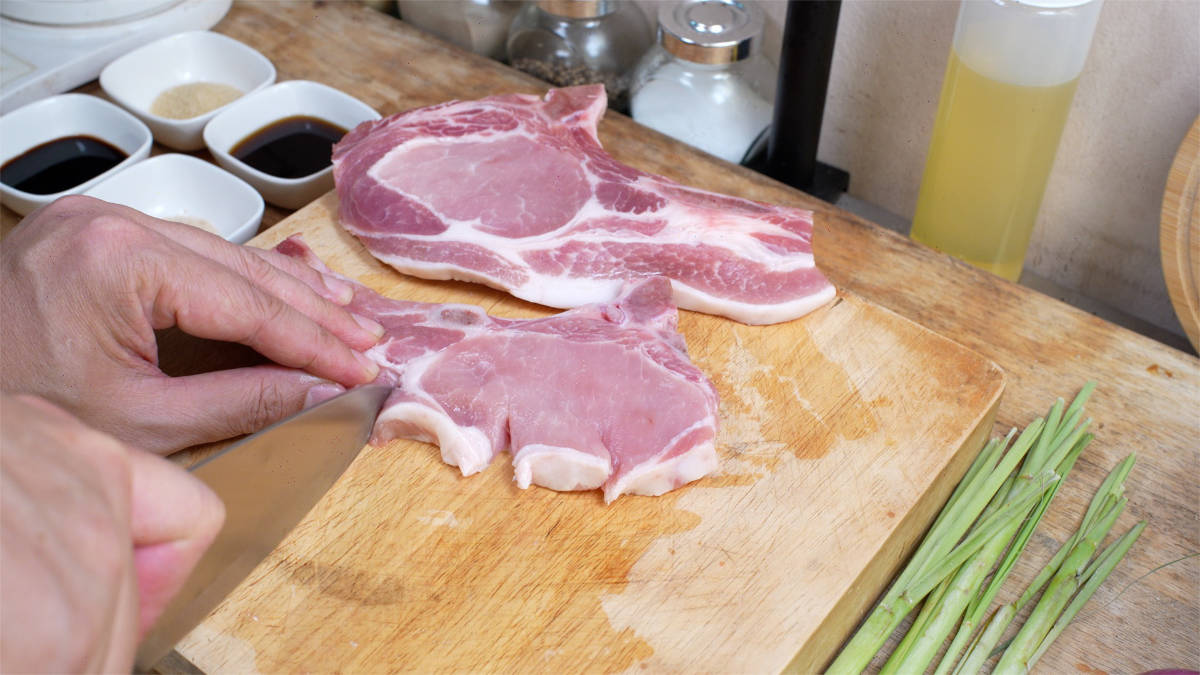
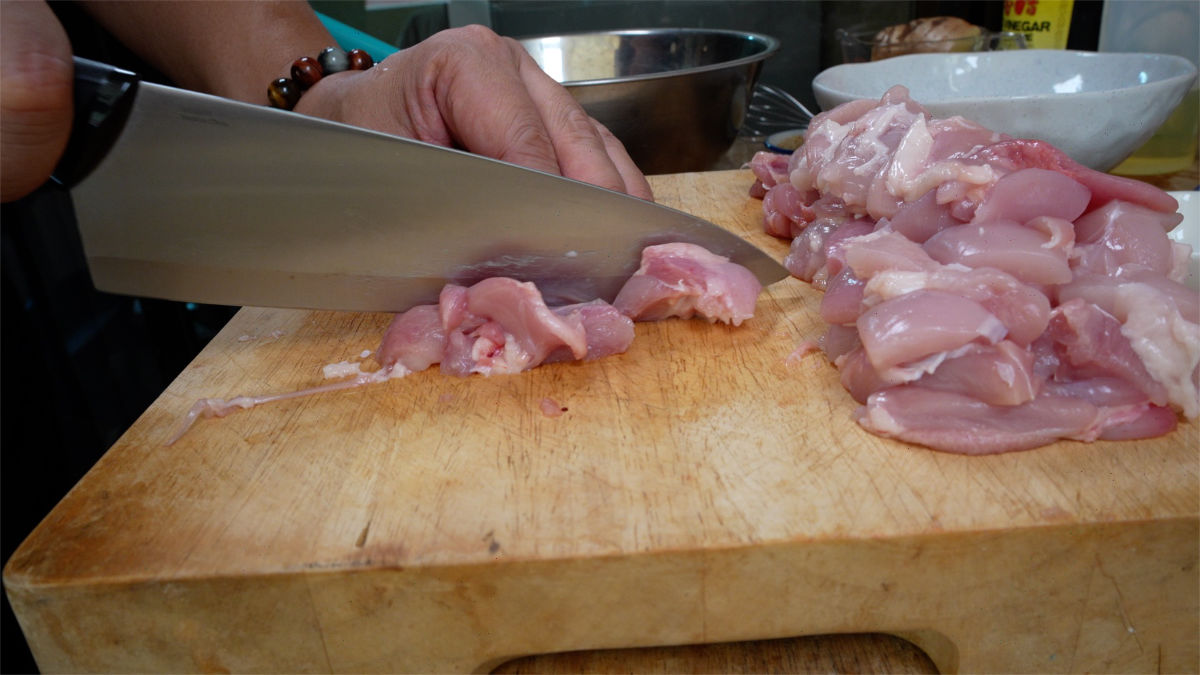
- Cut chicken thighs into 1 inch and set aside.
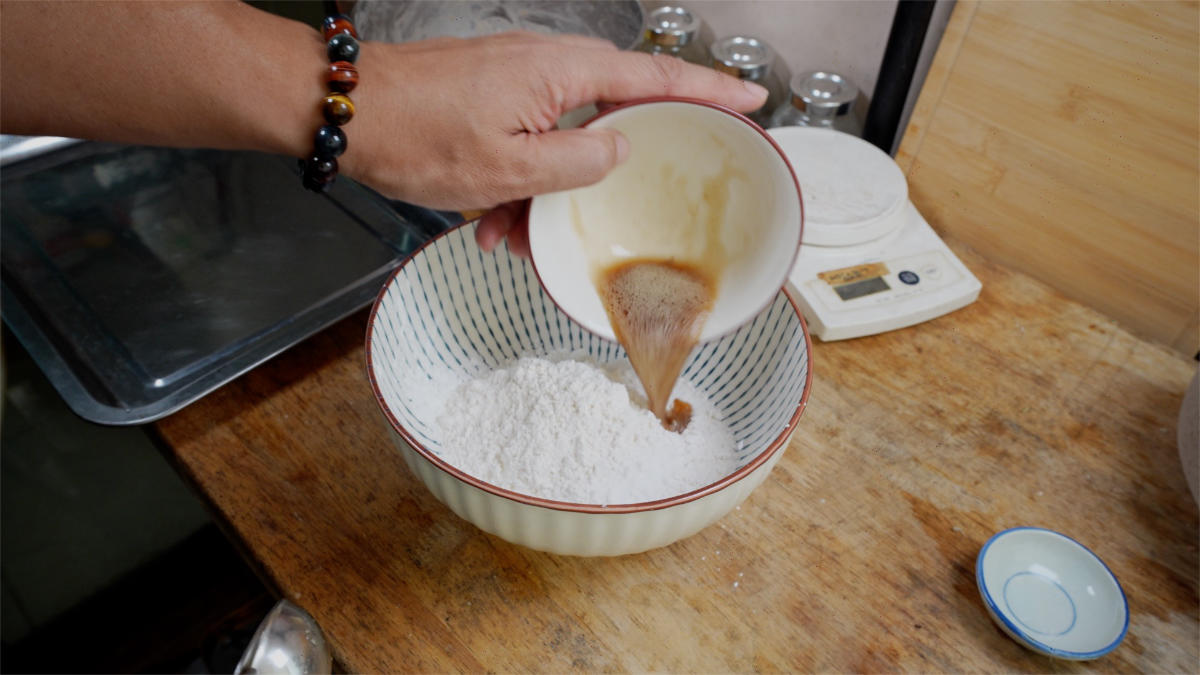
- Combine Shaoxing wine, Mijiu, soy sauce, white pepper and egg white. Whisk until frothy in a bowl large enough to marinade chicken thighs. Reserve 6 tablespoons marinade for later use.
- Add rest of marinade to chicken thighs and mix for about 30 seconds. Add baking soda, mix for another 30 seconds. Add potato starch and mix for 3 minutes. The chicken should have a really stick coating. Marinade for 15 minutes.
- While chicken marinades toast 1 tablespoon + 2 teaspoons of sesame seeds on a pan, with no oil. Toast until seeds have a bit of color.
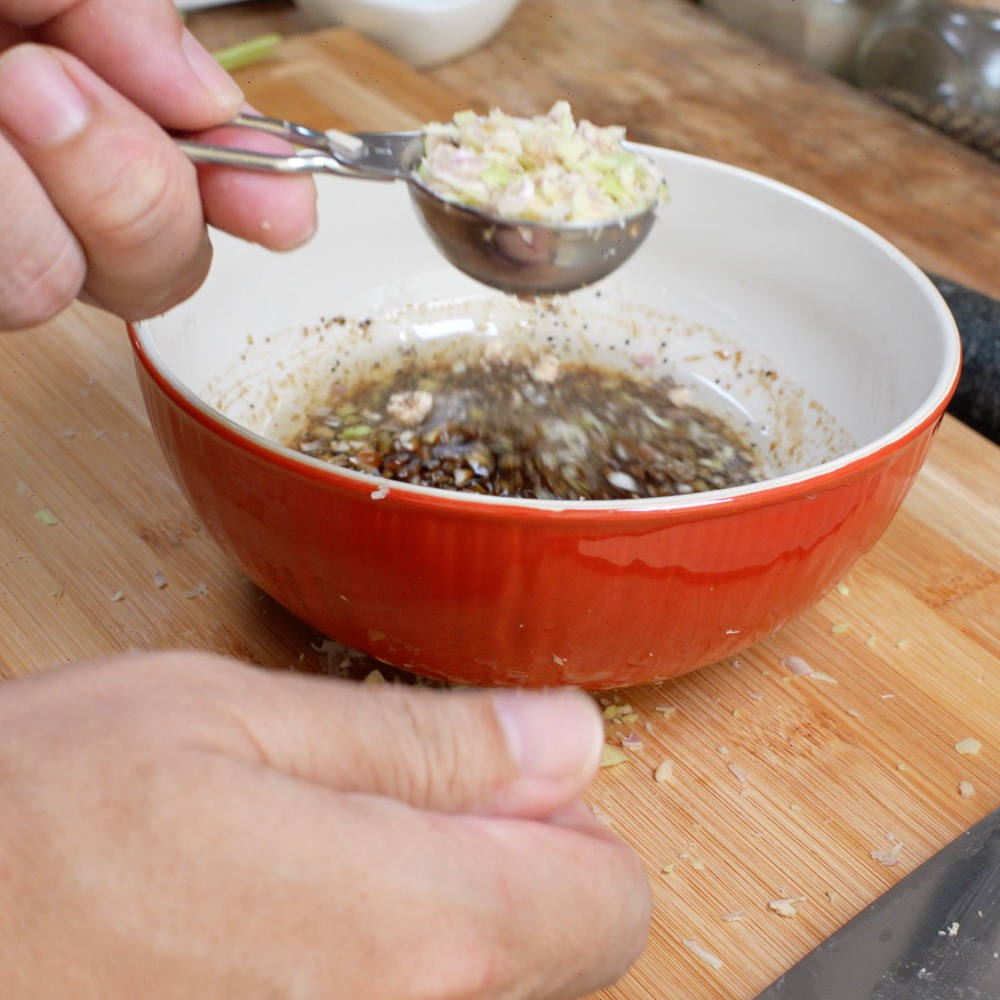
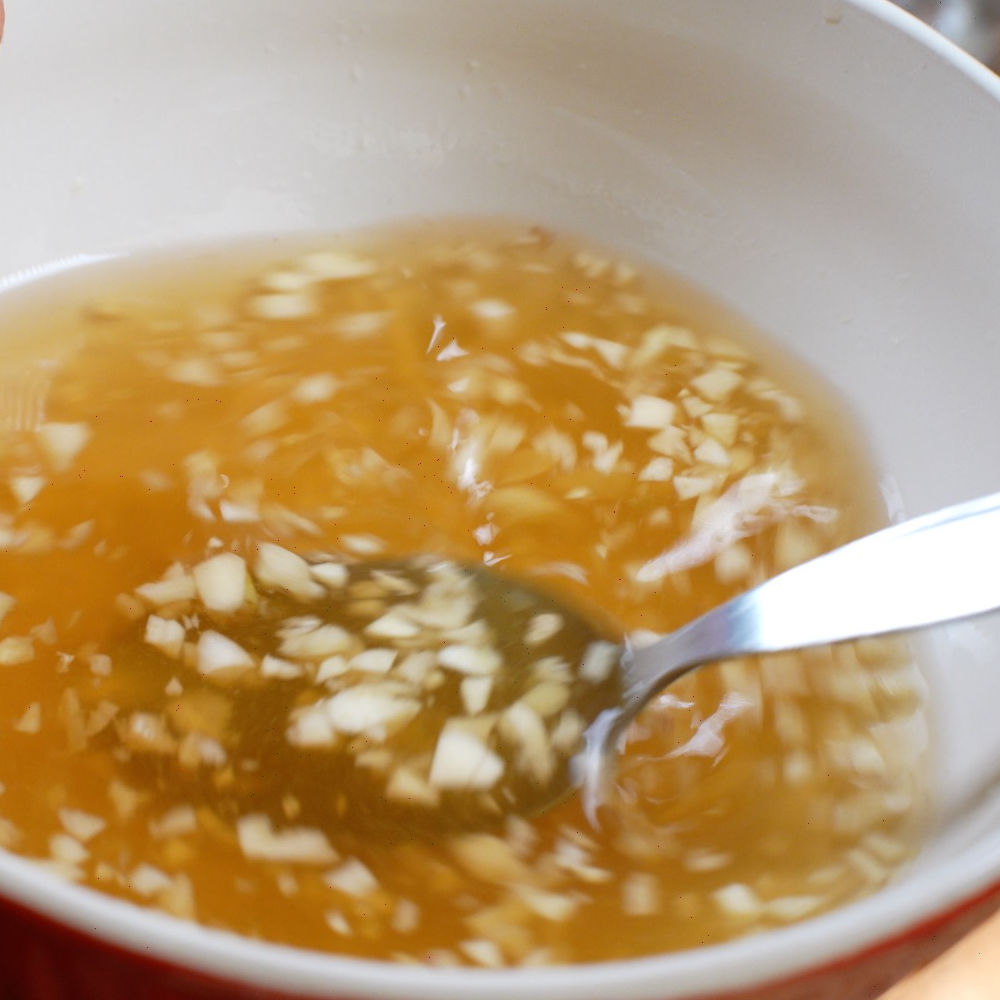
- Combine all sesame chicken sauce in a bowl and mix well.
- Combine flour and starch ingredients and seasoning in a bowl. Mix well, then add the reserved 6 tablespoons marinade on the flour mixture. Use a whisk to break up the large lumps. The results should look like crumbly cornmeal.
- Dredge a handful of chicken to dry batter, squeeze lightly making sure flour sticks to chicken thighs.
- Heat oil to 350°F (177°C). Do not try to fit all chicken in. Best to fry in batches, depending how big your pot of oil is. Fry until chicken has a golden brown color. Always wait until the oil is back to 350°F before frying each batch.
- After frying all chicken for the first time. We will do a second fry for crunchier chicken. Heat oil to 375°F (190°C). Fry for around 40 seconds to 1 minute in batches again. Until chicken looks 1 to 2 shades darker.
- Heat pan on low medium heat. When hot add 2 tablespoon oil. Add minced garlic and fry until fragrant, about 10 seconds. Then grate in 2 teaspoons fresh ginger. Careful not to burn garlic, if need to you can turn heat off at this point.
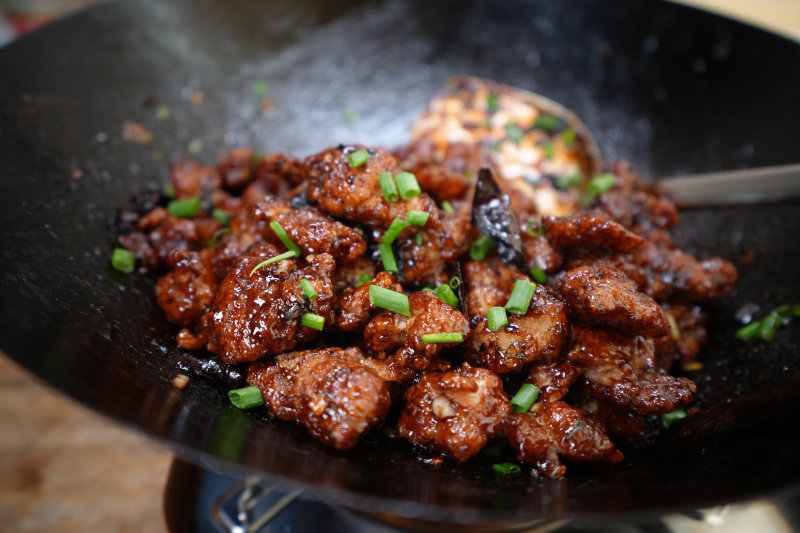
- Continue mixing and stirring ginger and garlic for about 15 to 20 seconds then add sauce mixture. Add tablespoon of toasted sesame seeds. Turn on high heat and cook until sauce because thick and sticky.
- Gently toss in fried chicken and mix well. Plate and sprinkle toasted sesame seeds and some spring onions.